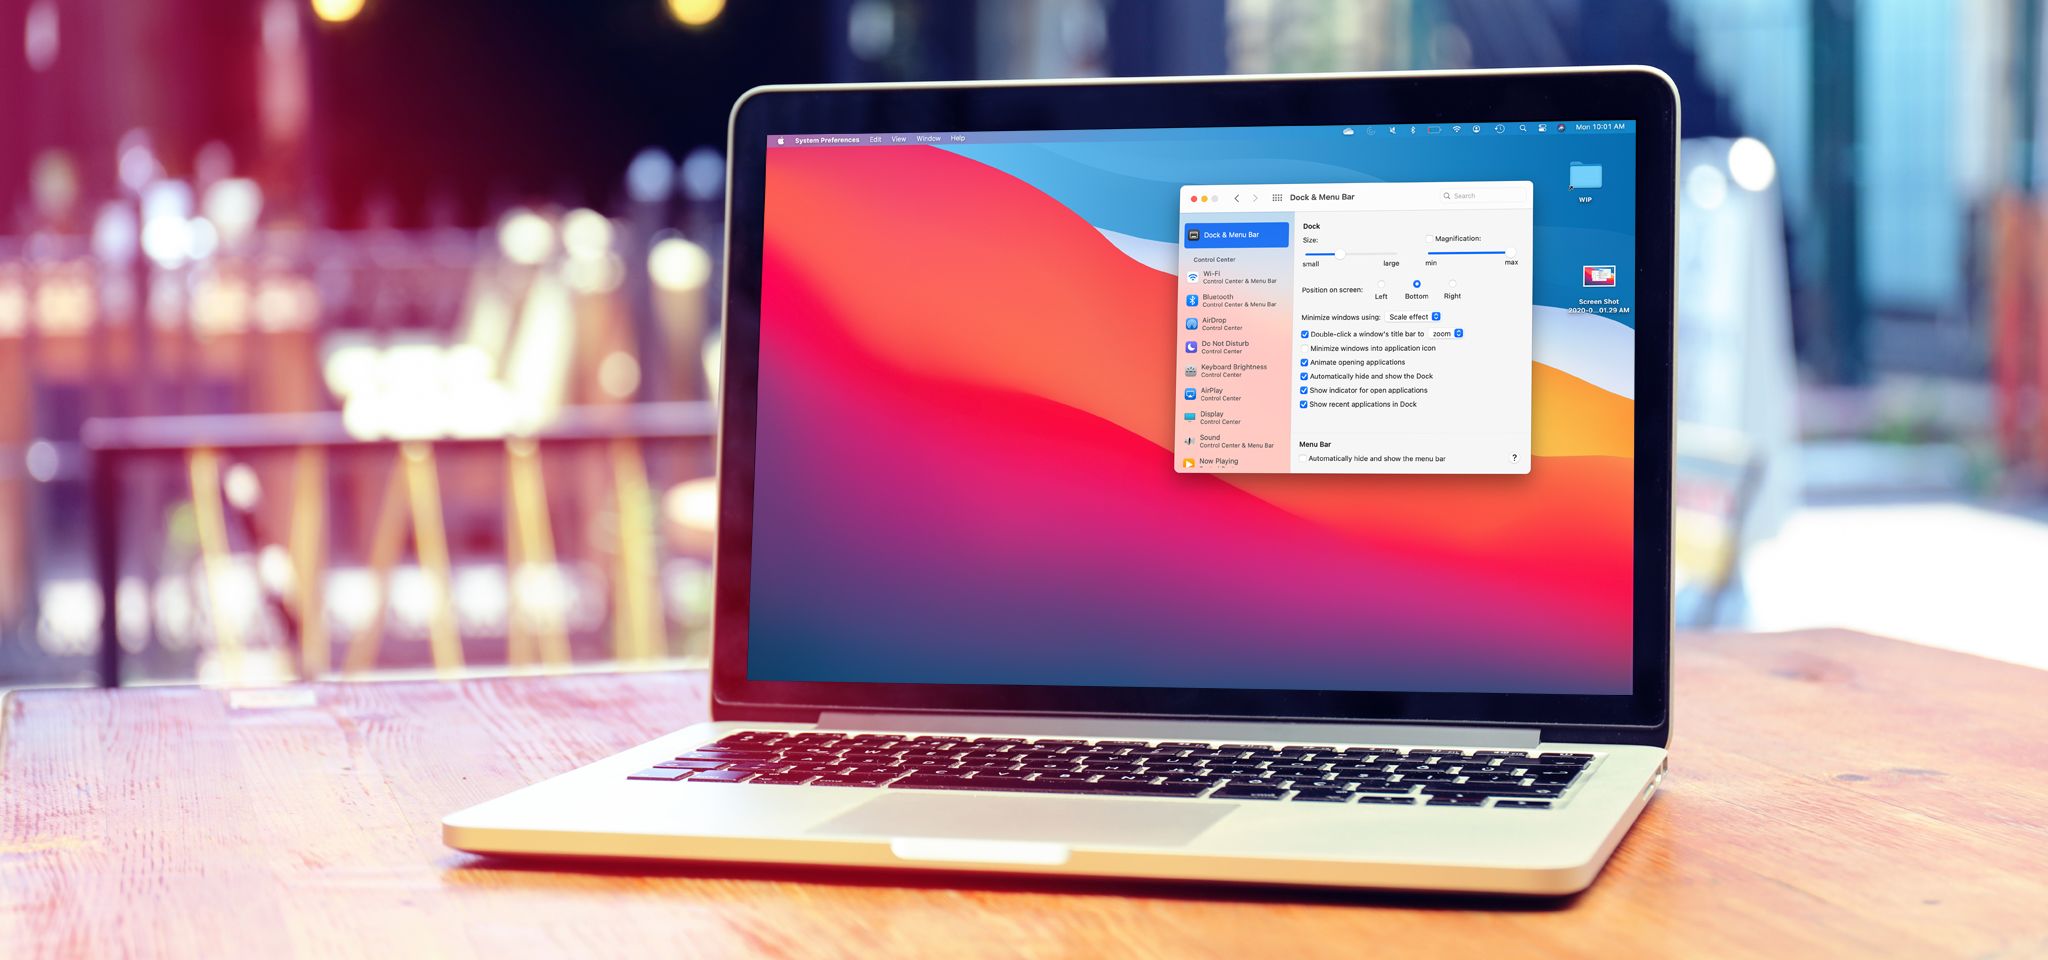
So, you’ve just unboxed your first Mac, and suddenly, the excitement turns into a moment of “Wait, this is harder than I thought.” Don’t worry—you’re not alone! Transitioning to a Mac can feel overwhelming at first, especially if you’re coming from a different operating system. But fear not! With a step-by-step approach, you’ll find that using a Mac is simpler than it seems. In this guide, we’ll walk through five levels of mastering your Mac, each more advanced than the last. By the end, you’ll be navigating macOS like a pro.
Level 1: Getting to Know the Mac Desktop
Let’s kick things off with the basics. The Mac desktop is built around six essential features that make your experience smooth and intuitive:
The Menu Bar: On a Mac, there’s a single menu bar that stays at the top of the screen. Unlike on other PCs where each app has its own menu, this menu bar adapts to the app you’re currently using. The only constant here is the Apple menu, your go-to spot for shutting down, restarting, force quitting apps, and accessing System Settings.
The Control Center: This handy tool lets you adjust settings like brightness, volume, and sound output directly from the menu bar. No need to dive into the Settings app!
The Dock: Your Dock is where you’ll pin your most-used apps, documents, and folders. You can easily add items from the Launchpad and customize how they’re displayed. Plus, the Dock doubles as a handy tool for moving documents between folders or ejecting external drives.
Notification Center: Hidden behind the date and time, the Notification Center is where you’ll find recent updates and widgets like weather forecasts or your to-do list. It’s a quick glance at what’s important right now.
Launchpad: Access all installed apps from the Launchpad, and pin the ones you use most often to the Dock for quick access.
Level 2: Mastering Window Management
One of the trickiest parts of using a Mac can be handling multiple windows. But with a bit of practice, you’ll find it’s not as daunting as it seems:
- Closing vs. Quitting: Clicking the red button closes your current window, but the app stays open in the background. To quit an app, use Command + Q.
- Minimizing and Hiding: The yellow button minimizes apps to the Dock, while Command + H hides them completely from view. To bring them back, just click on the app in the Dock.
- Full-Screen Mode: The green button puts your app in full-screen mode, hiding the Dock and Menu Bar. To exit, just hit the Escape key.
Level 3: Multitasking Like a Pro
Ready to step up your game? Mac’s multitasking features are powerful once you know how to use them:
- Command + Tab: This lets you switch between open apps quickly, just like Alt-Tab on Windows.
- Mission Control: Press the F3 key or swipe up with three fingers to see all open windows at a glance. It’s the Mac equivalent of Task View on Windows.
- Window Snapping: While macOS doesn’t have the same snapping feature as Windows by default, you can hover over the green button, hold Option, and snap windows to the side. For more advanced snapping, third-party apps like Magnet or BetterSnapTool are must-haves.
Level 4: The Finder – Your Ultimate File Manager
Finder is where all your documents live, and mastering it is key to an efficient workflow:
- View Options: Toggle between Icon, List, Column, and Gallery views to see your files the way you like. Column view is particularly handy for navigating folders.
- Tabs and Path Bar: Enable these in the View menu for a more advanced Finder experience. Tabs allow you to manage multiple folders in one window, and the Path Bar shows the full file path at the bottom of the Finder window.
- Finder Settings: Customize what you see in the Sidebar and choose your preferred folder for new Finder windows under Finder Settings.
Level 5: Unleashing the Full Power of macOS
Now that you’re comfortable with the basics, let’s explore some unique features that set macOS apart:
- Time Machine: This built-in backup feature lets you save your entire disk to an external drive, creating snapshots of your system that you can restore at any time.
- Spotlight Search: Command + Space opens Spotlight, a powerful tool for finding files, apps, contacts, and even performing quick calculations or conversions.
- Trackpad Gestures: The Mac’s trackpad offers more than just scrolling and clicking. You can swipe with three fingers to switch between apps, use four fingers to access the Launchpad, and more.
Wrapping Up
By now, you should be feeling a lot more confident with your Mac. We’ve covered everything from the basics of the Mac desktop to advanced features like Time Machine and Spotlight Search. But there’s always more to learn! If you’re eager to take things to the next level, be sure to check out our next guide on the top ten features to change first on your brand-new Mac.
Thanks for reading, and enjoy mastering your Mac!
This article is based on factual information available on third-party websites, which has been carefully confirmed and verified during the research process. It is recommended to check any required information. I do not hold any rights over the used image; it is sourced from Kingston Technology via Google Photos.


.png)
0 Comments